Supplies:
- Coin wrap(s)
- Scissors
- Fabric glue
My ulterior motive for creating this coin bedlah is to go with the red and gold coin skirt in this post. The bra in the picture is the red/gold coin wrap I've cut up for this sew along. I committed a major (personal) faux pas by simply tacking it to a regular bra with some ribbon to hide the straps just so I could wear the skirt. Once the sew along is over I will have a nice bra to match the skirt AND a matching belt giving me 2 costume options in one.
I cut straight across the bottom row of crochet on each hip wrap. Red and gold on top. Burgundy and Silver on bottom.
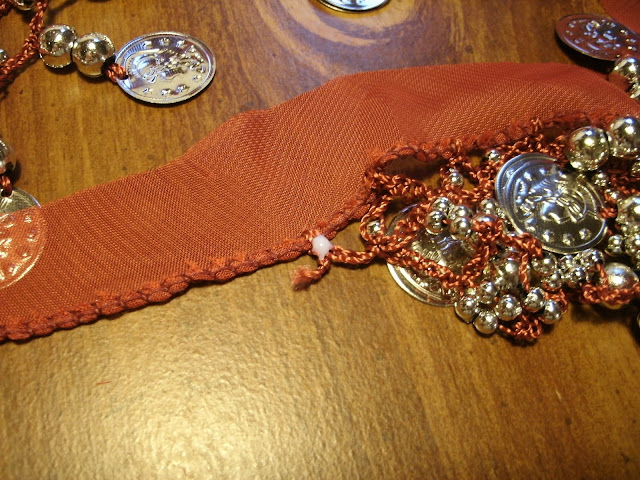
Sniffing out those pesky knots and frays in the crochet work. You will want to secure any knots or frays with fabric glue. This will extend the life of the crochet work especially on the cheaply made coin wraps.
Follow the directions on the glue. Add just enough glue to secure the knot. This glue dries clear and flexible but too much and it becomes hard to sew/cut through.
You can use any kind of fabric glue, liquid hem, etc. You can use clear nail polish in emergencies such as at a gig and fringe starts to unravel but it gets very hard and brittle over time. I recommend investing a few bucks into a bottle of fabric glue and doing a spot check on all of your costume pieces, (wraps, belts, bras, fringe, etc.) before wearing them. Glue the loose knots and they will last much longer.
I trimmed the hip scarf fabric even closer to the crochet and tucked it under as I pinned and sewed it on.
I did a lot of re-pinning and repositioning of the fringe until I liked the way it looked. I pinned on the top row of coin fringe first to make a border and sewed it on. Next I sewed on the gem stones making sure I liked their placement. Then I went back and pinned on the second row of coin fringe and sewed it into place.
You can either place and pin every thing on before sewing or pin and sew as you go (like I did.) It is a matter of personal preference and very possibly how much sleep and/or sanity you have on the day you tackle your costume.
Close up with gem stones added, top row of coins only (I wish I could afford glass stones but I can get 12 acrylic stones for $2.)
Gem stones and top row of coins only
I pinned on and sewed the top layer of fringe first to define the top edge where the bead work/gem stones will go. Then I flipped it up out of the way and pinned the second row on underneath.
_________________________________________________________________________
Next Task 5: Decorate (next update Sept.19th)
Supplies:
- Sew-on acrylic gems
- Sequins
- Seed beads
- Rocaille beads
- Beading needle and Beading thread or equivalent (I use upholstery thread)
- All-purpose sewing thread and needle
Want to see ALL of the pictures from my bra build? Check out the Flickr Sew Along group and add your own at http://www.flickr.com/groups/bellydancesewalong/.
Good luck and have fun!
~N


1 comment:
Silver Gold Bull is your reputable silver and gold dealer. You will be provided with reasonable, real-time rates and they will ensure your precious metals are delivered to your door discreetly and fully insured.
Post a Comment